This post is sponsored by The Home Depot
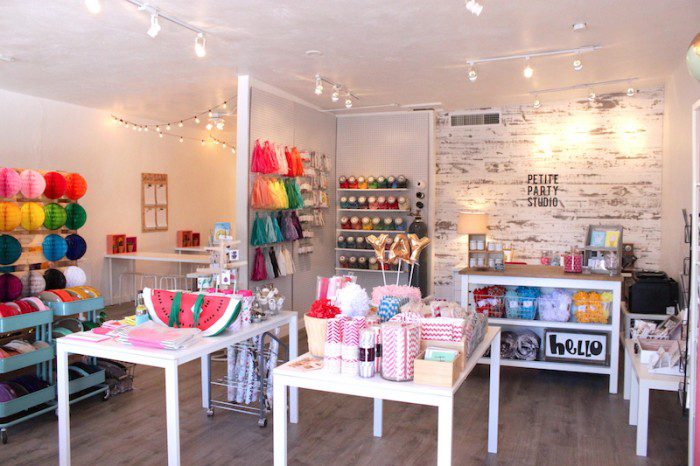
So, if you’ve been following us on Instagram, you may have seen that the shop has undergone quite a big transformation. We’ll touch more on that later, but for some of our studio projects we have been super fortunate to have teamed up with The Home Depot for some amazing products to help tie up our NEW space! Last week we revealed our flooring project HERE. This week we are revealing our AMAZING planked wall!! We wanted a focal wall when people entered the shop and the pre-finsihed planks from Timeline Wood were the perfect product to help us achieve exactly what we wanted!!
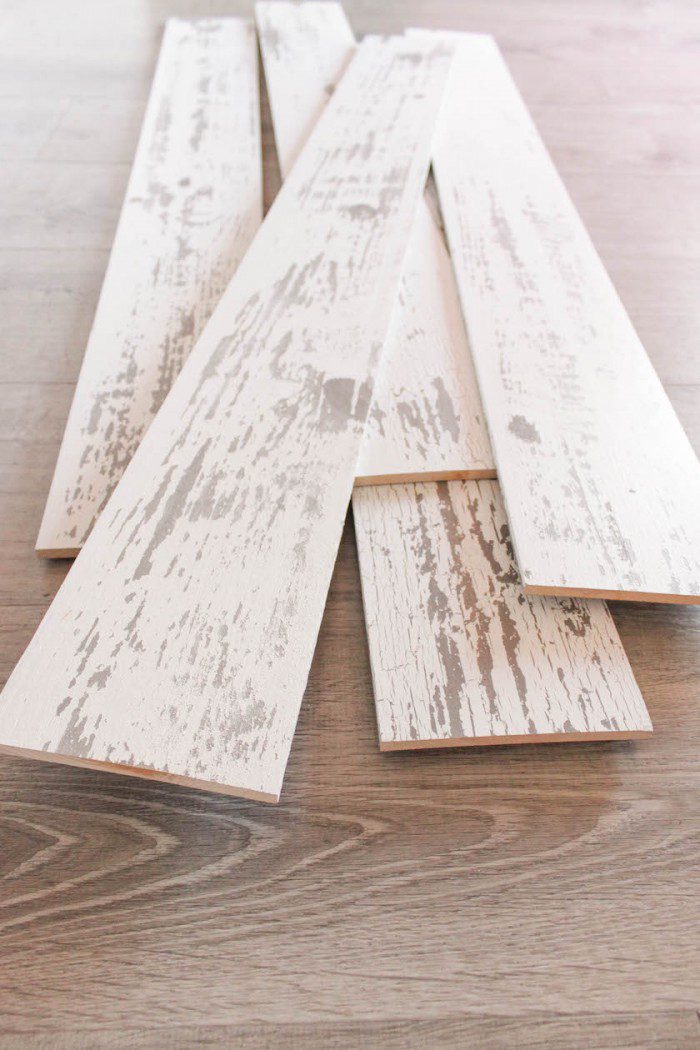
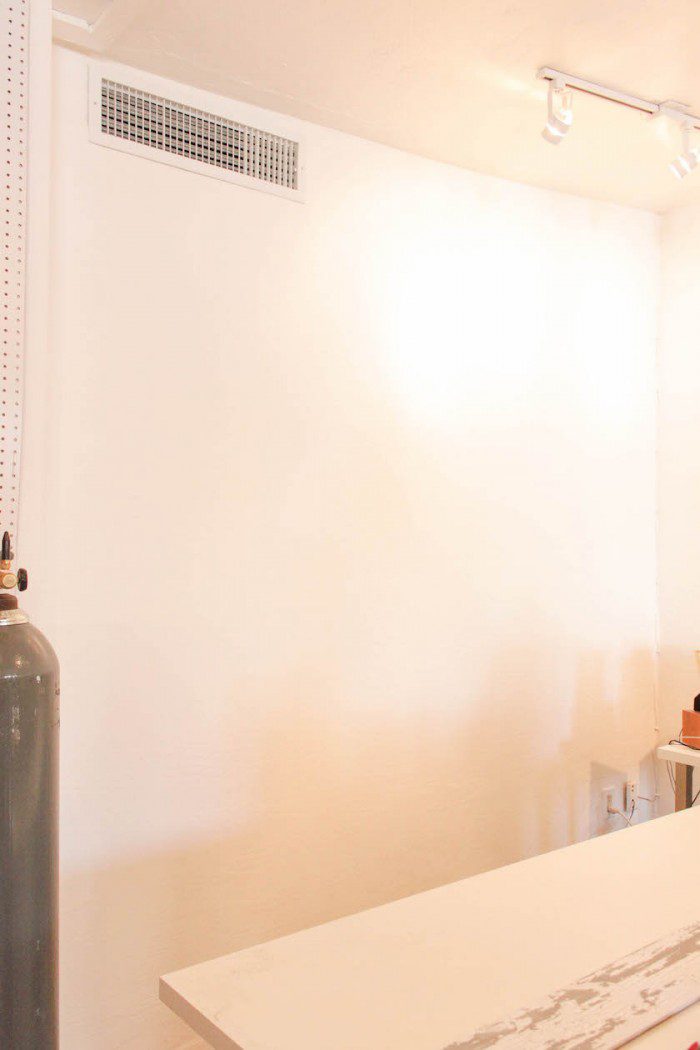
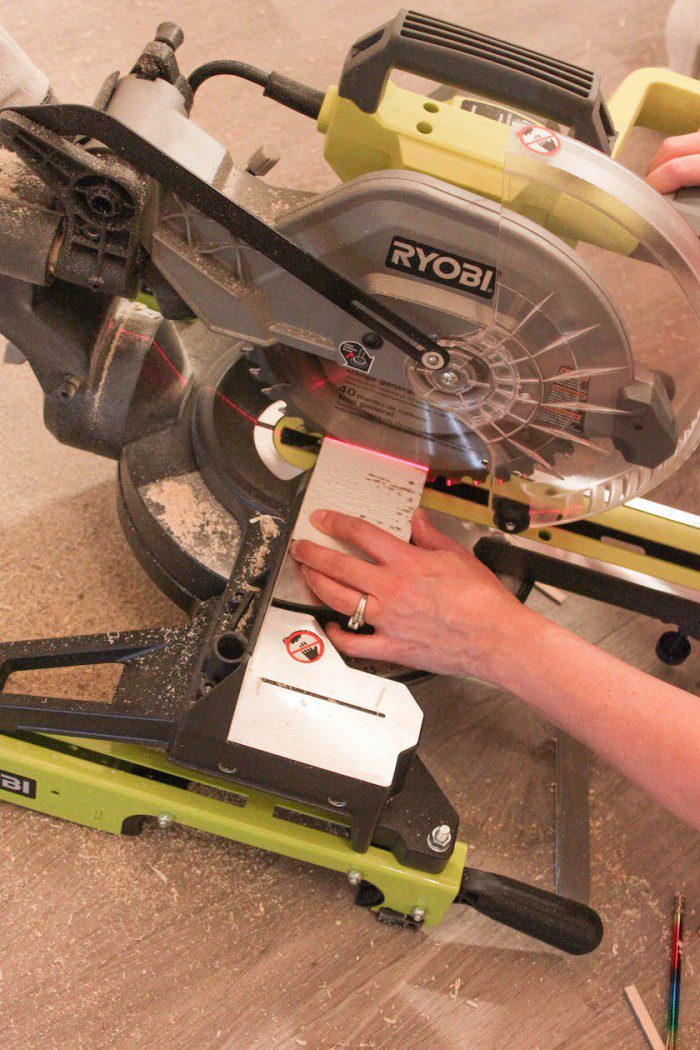
Yep…you read that right…PRE-FINISHED!! With a few measures, cuts and a nail gun…we were finished in no time!! Here is a look at the blank boring wall.
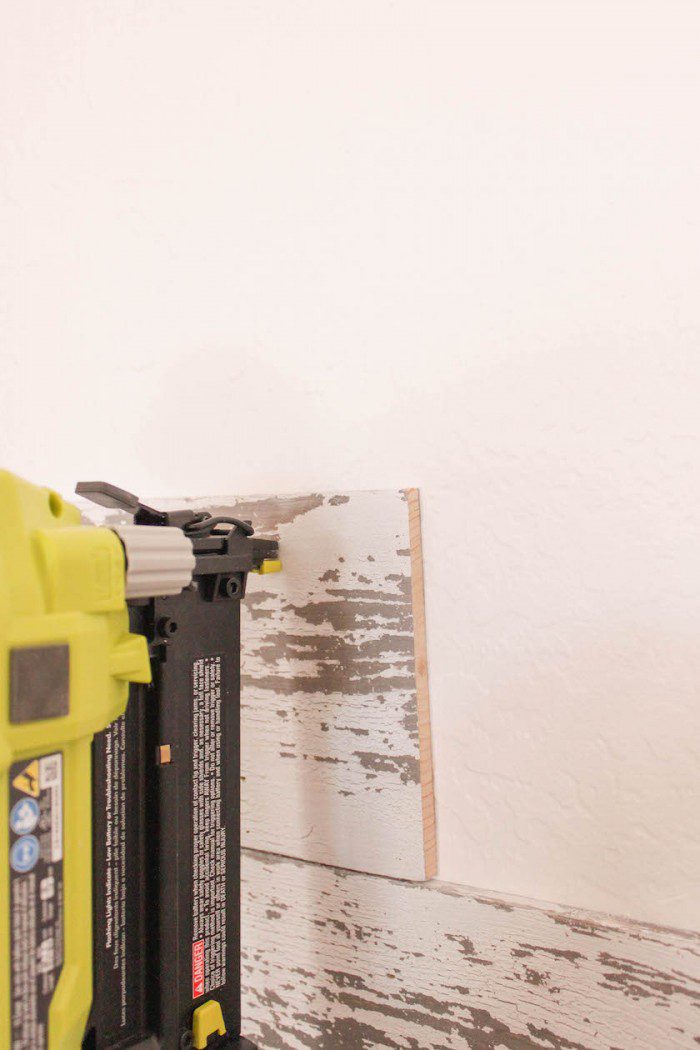
I swear my Ryobi airstrike brad nailer is one of my favorite tools everrrrrrr!!
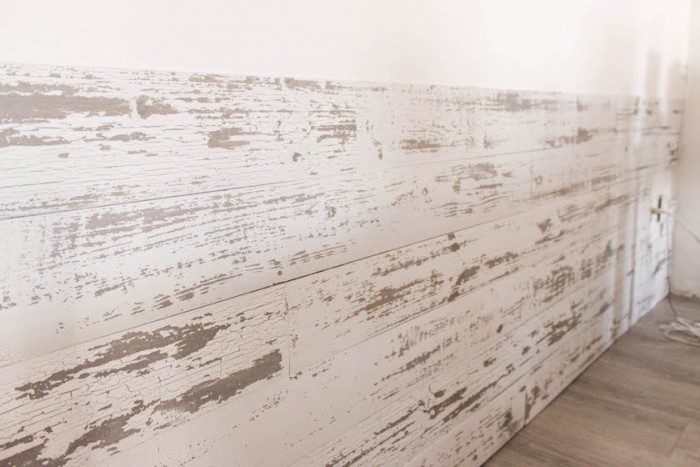
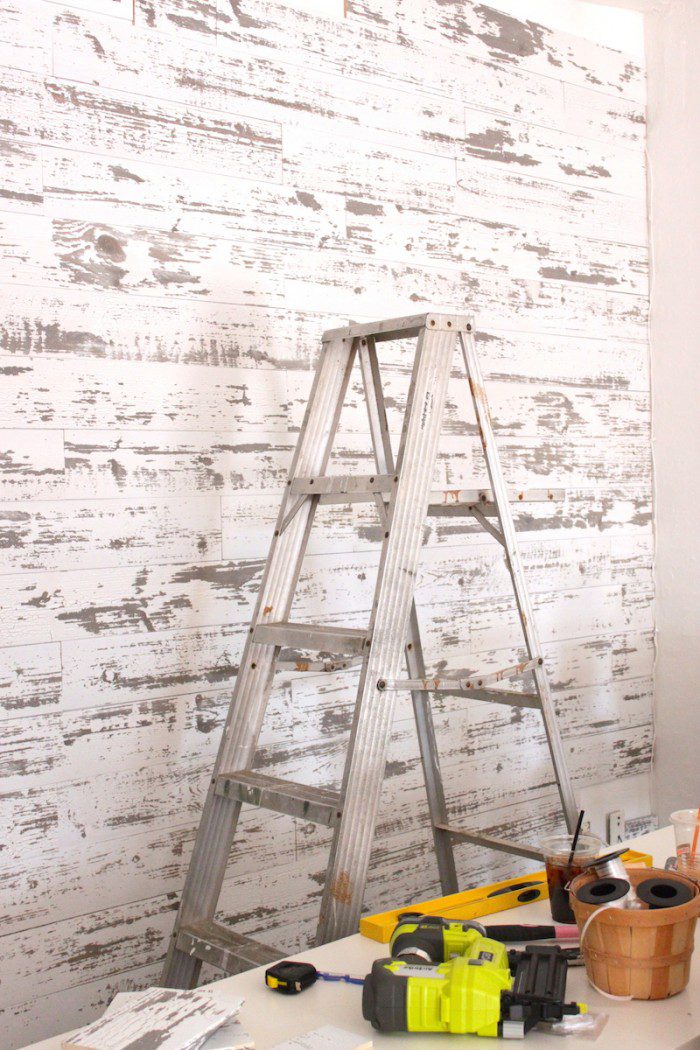
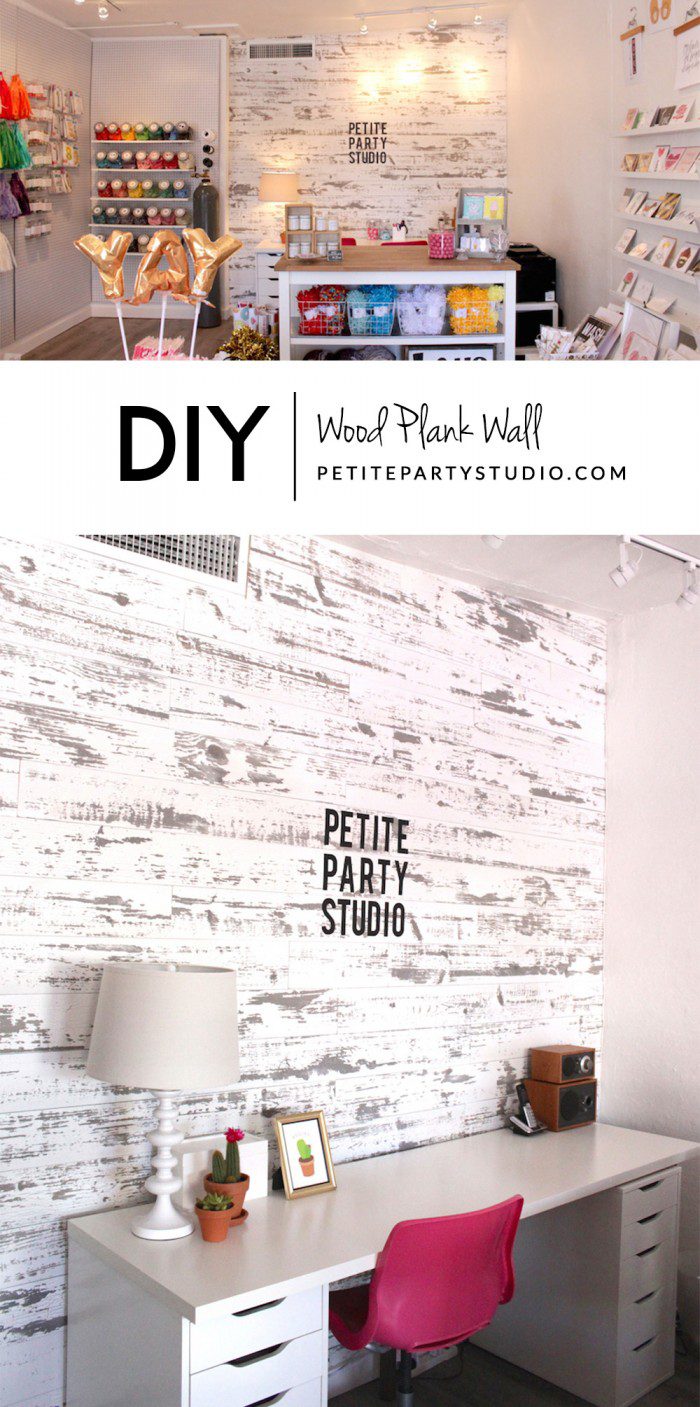
Here is what the finished wall looks like! Everyone that steps into the shop absolutely loves it and YES it is such an easy do-able DIY project for beginners.
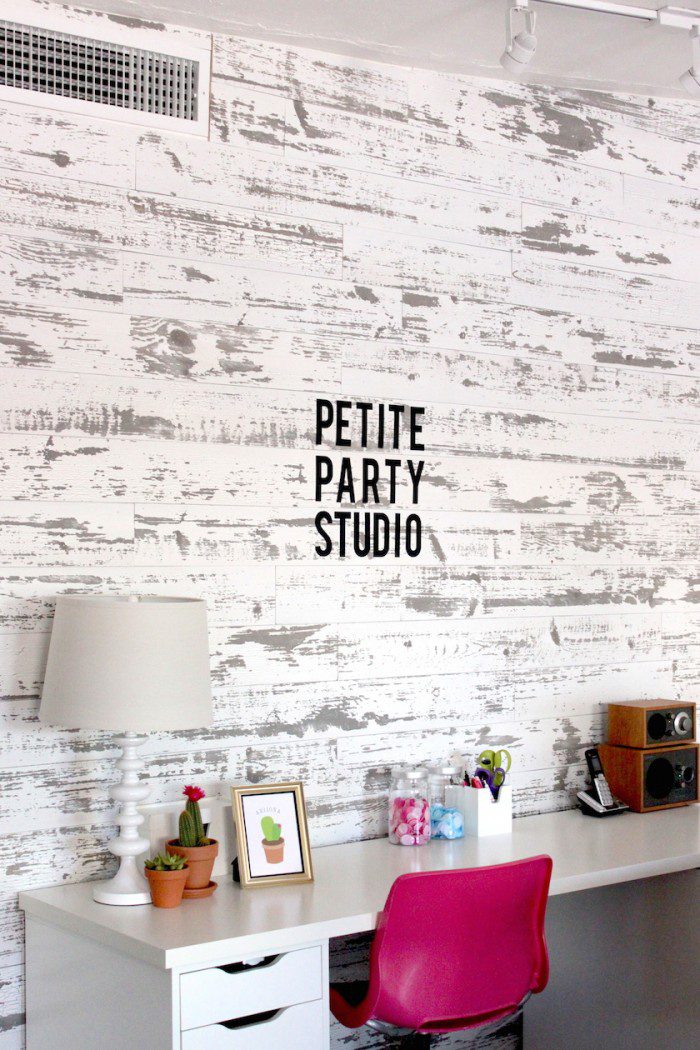
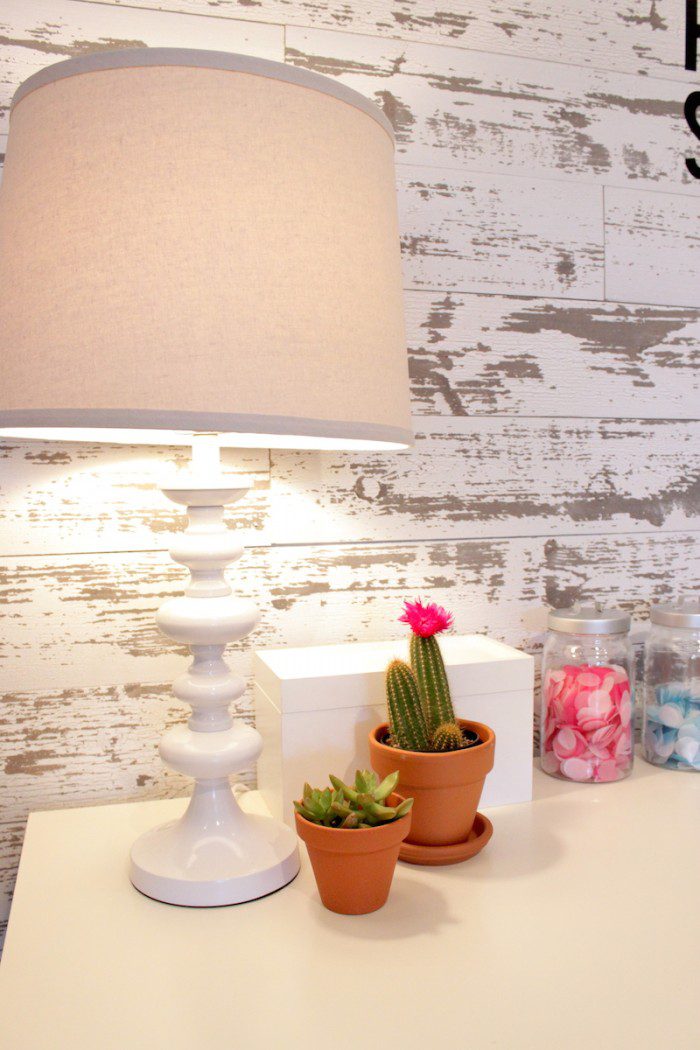
Get the supply list and see the FULL tutorial on the Home Depot Blog HERE
ok…one last look at the BEFORE

and…the AFTER!!! Hope you LOVE it! Don’t forget to head over to The Home Depot Blog and check out the tutorial and more pics!!

I acknowledge the The Home Depot is partnering with me to participate in this Vinyl Tile Program. As part of the Program, I am receiving compensation in the form of products and services, for the purpose of promoting The Home Depot. All expressed opinions and experiences are my own words. My post complies with the Word Of Mouth Marketing Association (WOMMA) Ethics Code and applicable Federal Trade Commission guidelines.

Jeniece Waite says
Hi! I am considering using the same planks for a wall in my bedroom and I had a question on your directions in your blog. Did you attach the boards to the wall with liquid nails first and then use the nail gun? Or just the nail gun?
Thanks and excited to explore your blog more!
Rebecca says
I found the studs, I wanted it to be easy to remove later on (: